


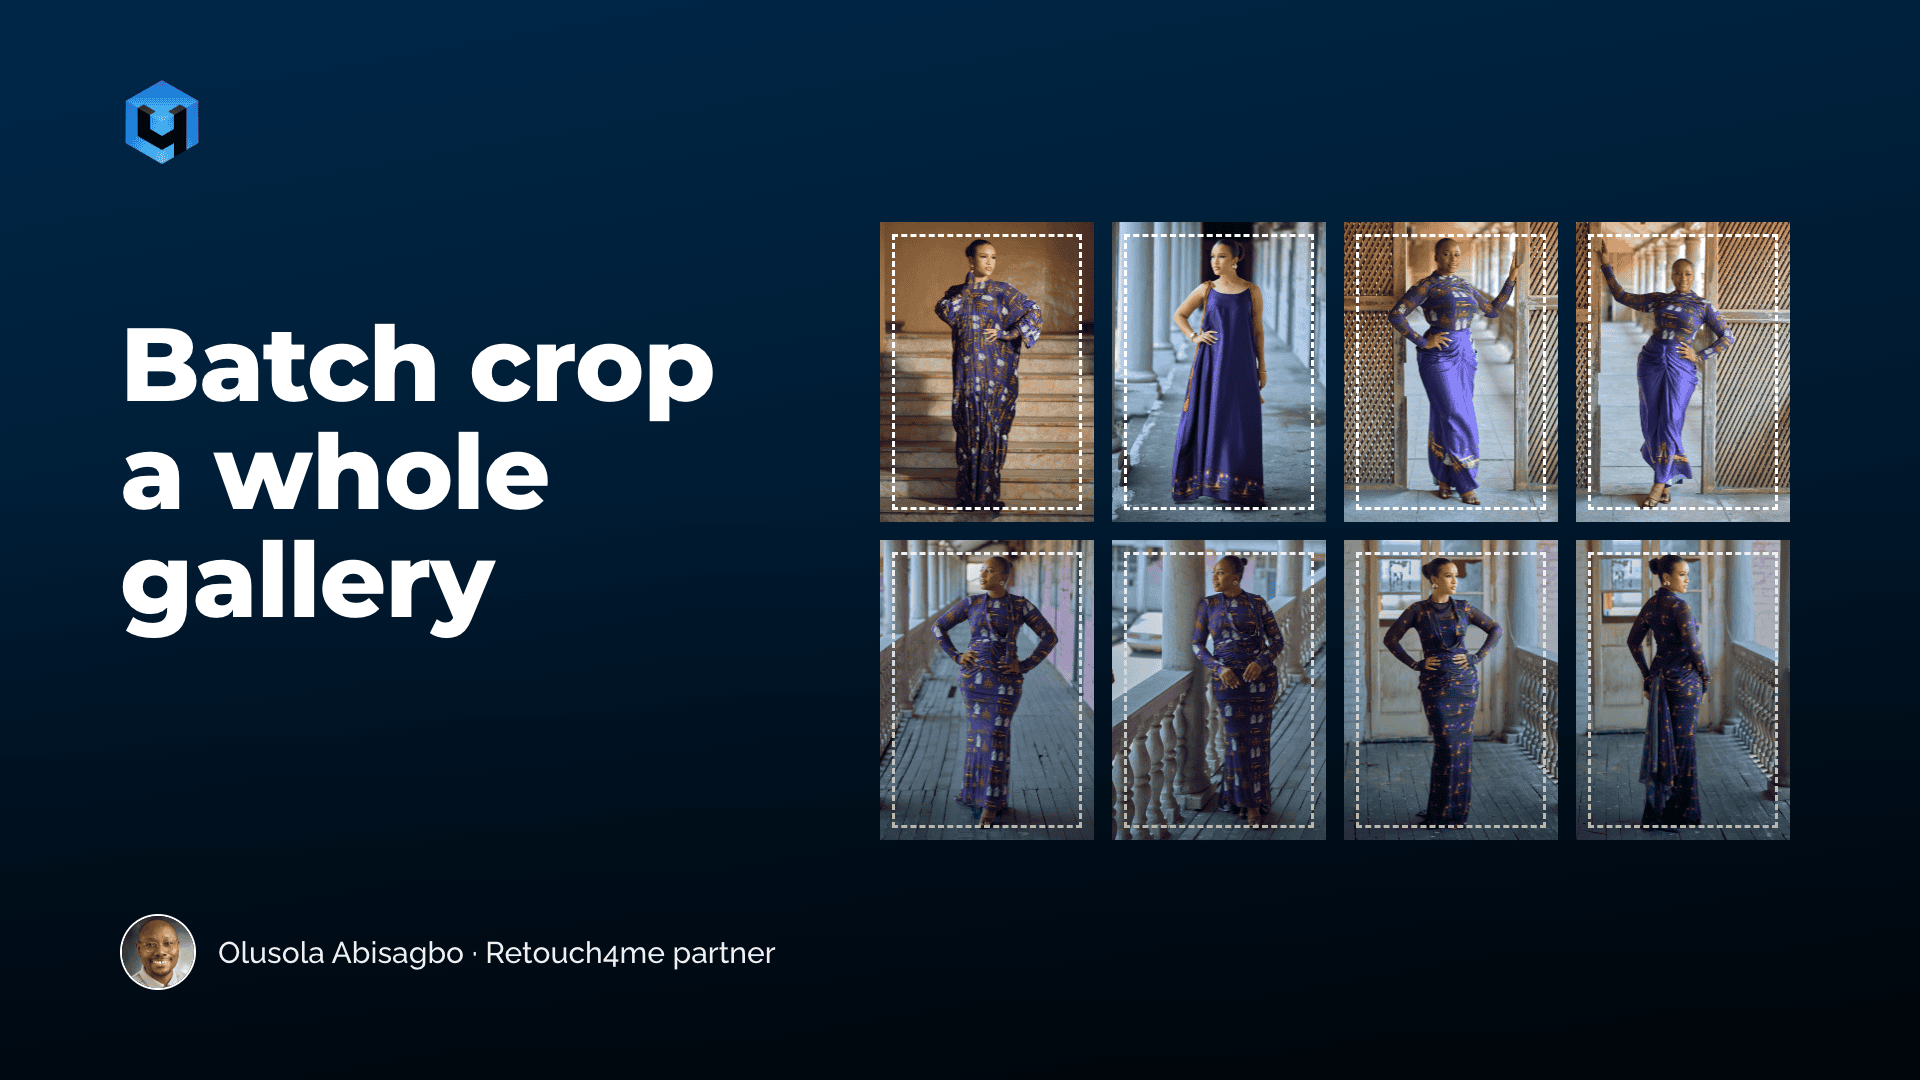
Based on a video lesson by Olusola Abisagbo (Abis). Written by the Retouch4me team.
Have 500 photos from one shoot and need every crop to match? Cropping them one by one takes hours, and the set still ends up uneven. In this guide you’ll learn the simple 4-step workflow wedding and fashion photographer Abis uses to crop a whole gallery with presets: how to group your shots, set the crop once and only review the results.
He does it in Retouch4me Crop. At the end you’ll find a short FAQ and a free demo to try the workflow on your own photos.
Why one crop for the whole folder doesn’t work
The quickest idea is to apply one crop setting to every photo. It rarely works. A gallery usually mixes different kinds of shots, and a crop that suits a full-length look will cut a close portrait in the wrong place. That’s why Abis starts by sorting.
Step 1: Split the gallery into groups
In his fashion gallery, Abis works with three groups:
- full-length images
- three-quarter photographs
- closer portraits
Each group gets its own crop.
Step 2: Set the crop once and save it as a preset
Start with one group, for example the full-length images. Choose the aspect ratio, the crop type and how much space you want around the subject, then save the setup as a preset.
In Fixed mode, Crop applies one crop type, such as Upper Body, Half Body or Full Body, to the whole set. The Extend option adds breathing room around the subject. Then repeat the process: one preset for the three-quarter shots, another for the close portraits. The next time you shoot the same formats, you can reuse your presets.

Step 3: Apply the preset, then review
Apply the preset to the group and go through the results. You are now checking crops instead of building each one from scratch, and the model’s scale and the space around the body stay more consistent from frame to frame.
Abis doesn’t accept every result without looking. He still makes the final creative decision. The difference is that he starts much closer to a usable result, especially across similar photos.

Step 4: Line up faces with Center face horizontally
For portrait series, Crop has a Center face horizontally option. It works in Fixed and Auto mode.
- Choose Fixed or Auto mode.
- Select the aspect ratio. In the video, Abis uses 9:16.
- Turn on Center face horizontally. The crop grid shifts so the face sits well in the frame.
- Drag Extend a little if you want more space around the subject.
The setting applies to the rest of the series, so the faces line up across the set. This helps with portrait series, team photos and fashion catalogs, where people see the images one after another.

When to crop by hand
If a pose is intentional, or the negative space is part of the composition, adjust that crop by hand. As Abis puts it, centering should support the photograph, not remove its personality.
What batch cropping actually saves
Setting up presets and reviewing the results still takes some time. What you get is a consistent starting point across similar photos, less time repeating the same setup, and more attention left for the photos that need your judgment.
FAQ
Can I crop multiple photos at once with the same settings?
Yes. In Retouch4me Crop you set the crop once, save it as a preset and apply it to a group of photos, then review the results.
Should I use one preset for the whole gallery?
Usually not. Group similar shots first, for example full-length, three-quarter and close portraits, and make a preset for each group.
How do I keep faces in the same place across a portrait series?
Turn on Center face horizontally in Fixed or Auto mode. It aligns faces across the series, and Extend adds space around the subject.
Will automatic cropping make my photos look generic?
Not if you treat it as a starting point. Review each crop and adjust by hand when a pose or negative space calls for it.
Try it on your next gallery
Retouch4me Crop can help you crop an entire gallery consistently. Download the free demo of Retouch4me Crop, save a preset for your most common format and test it on a real shoot. If you decide to buy, your discount is already applied through this link.
Watch the full lesson by Abis: https://youtu.be/eJvEeBGt8TE
Related reading
About this article
This article is based on a video lesson by Olusola Abisagbo (Abis), a wedding and fashion photographer, educator and creative director of Photosbyabis Studios (@photosbyabis). Abis is a Retouch4me partner and earns a commission on purchases made through his link. Written by the Retouch4me team.