

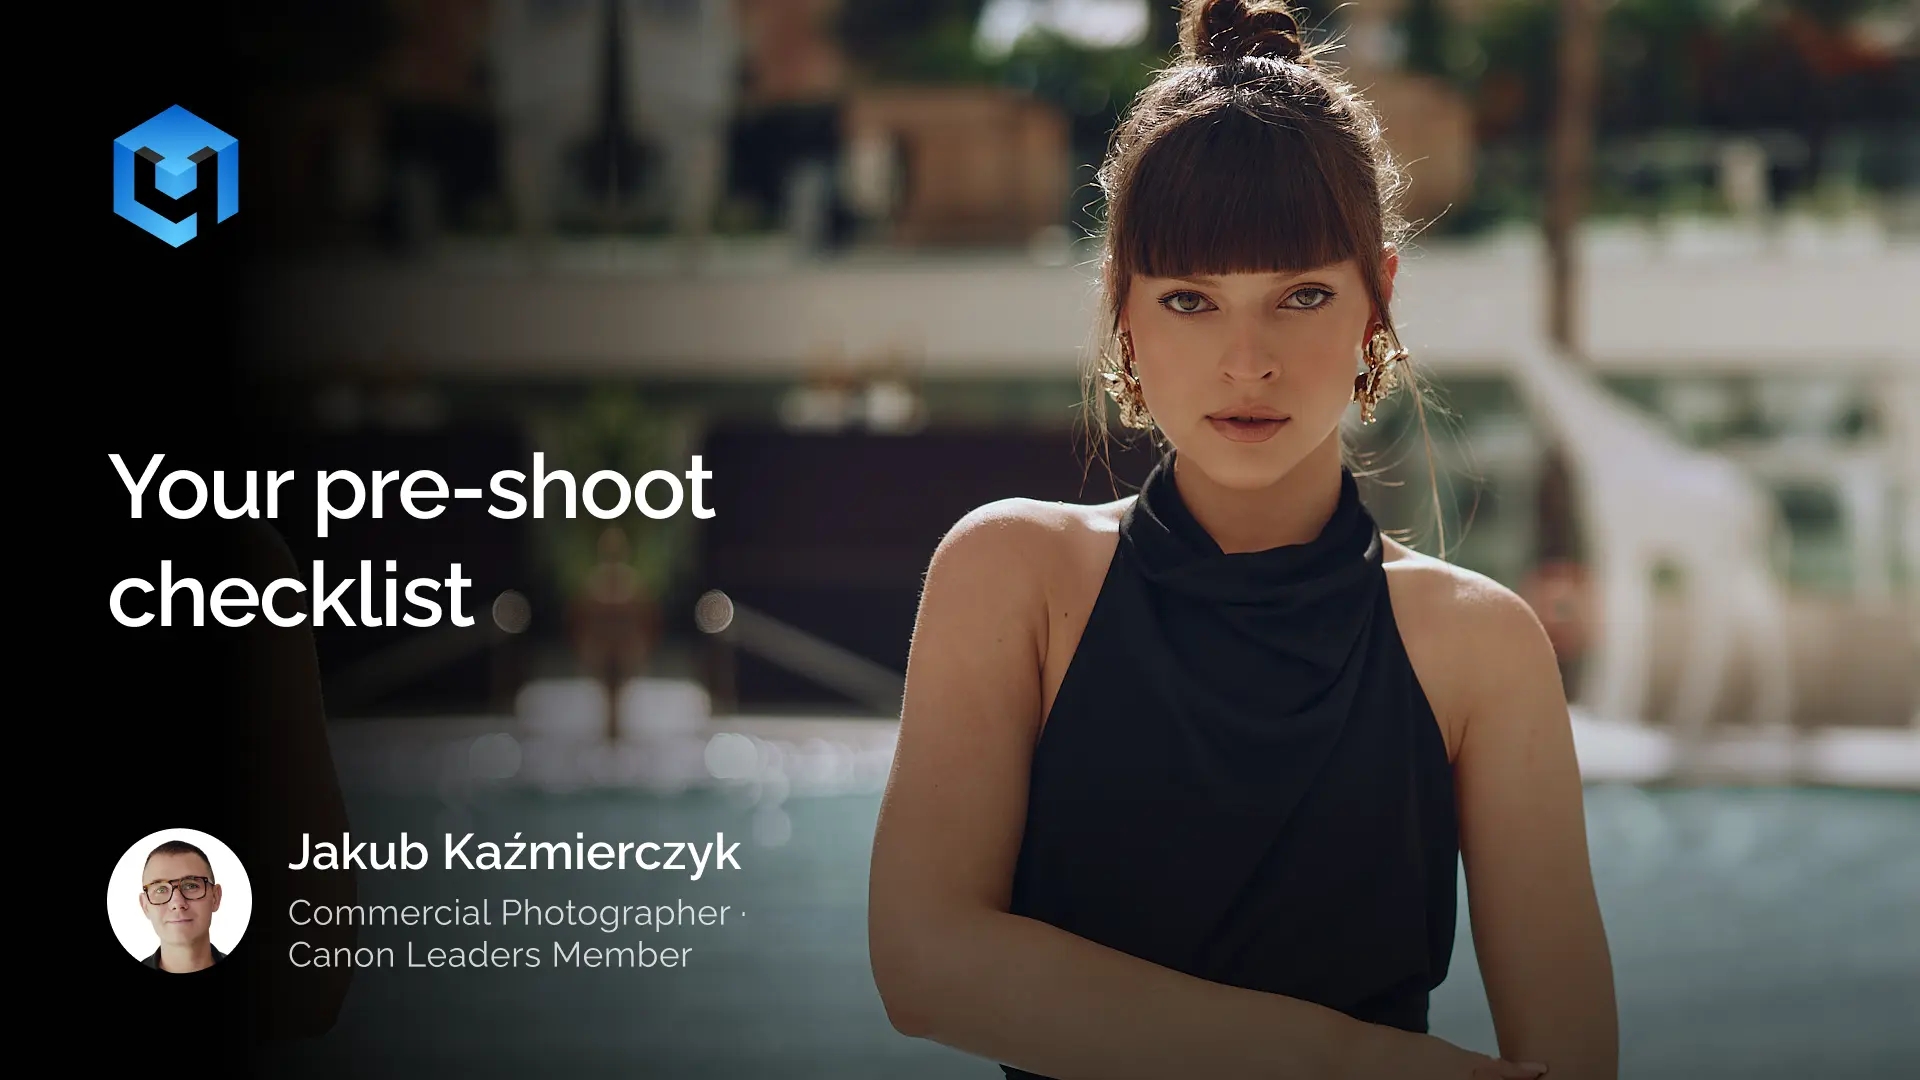
Most portrait shoots that don’t go well were decided before anyone arrived. The photographers who produce consistent results are not more talented. They prepare differently.
In this article you will find a preparation framework built from real professional experience Jakub Kaźmierczyk shared during our recent webinar on portrait photography.
Step 1 — Form the Concept First
The single most common cause of a disappointing shoot is arriving without a clear concept. Not a mood — a specific, answerable brief: what are we making, where, and what should the result feel like?
The concept doesn’t need to be original. A quarry in summer, a model in a swimsuit, strong directional light — images that look like they were shot in southern Europe, from a field outside your city. A studio cyclorama with one dress and one light. A specific campaign you’ve been studying. Simple, decided, committed to before you book anyone.
Step 2 — Build a Mood Board That Communicates
Pinterest is good for discovery. Milanote is good for communication. The distinction matters.
The Milanote browser extension lets you save images from anywhere on the internet — not just Pinterest — and add notes, colour swatches, and team information alongside the visual references. When you share the board with your model, makeup artist, and other collaborators, everyone arrives with the same frame of reference. There’s no ambiguity about what ‘editorial’ means when there are 12 specific images showing exactly what editorial means for this shoot.
Share the mood board at least one week before the day.
Step 3 — Meet Your Model Before You Pick Up a Camera
The worst approach: six messages on Instagram, a time and location, and then showing up with a camera. The model doesn’t know what you’re making. You don’t know how she moves. You haven’t built any chemistry.
The alternative: coffee near the location before the shoot. A real conversation. Show the mood board. Talk through the direction. Ask about her experience with different types of light. Find out what she’d add to the concept.
“The models who produce the most interesting images are the ones who understood the concept before they arrived. By the time you pick up the camera, you’re not strangers anymore.”
Step 4 — Brief Styling Specifically
‘Bring some nice options’ is not a brief. It’s an invitation for a model to arrive with 40 dresses, none of which fit the concept — because no one told her specifically what was needed.
Name the pieces: a white shirt, an oversized blazer, a trench coat, a bodysuit, a minimal dress. Share visual references from the mood board. If you’re providing some items yourself — sale pieces from Zara or H&M work perfectly well — tell her what you have and what she should bring.
Simple always outperforms elaborate. One well-chosen outfit outperforms a bag of options every time.
Step 5 — Scout for Light, Not Just Aesthetics
A beautiful location with bad light at your scheduled time produces frustrating images. A plain location with beautiful light produces strong ones.
For outdoor shoots, use Sun Surveyor: it shows you exactly where the sun will be at any time of day at your location. Schedule outdoor work to begin two hours before sunset. For studio work, know what the space does with light before the model arrives — where the gradient falls, how the window behaves, where to position your subject for different effects.
Step 6 — Know Your Camera Before You Arrive
When you’re managing exposure, light, model direction, and composition simultaneously, camera operation must be automatic. If finding exposure compensation requires thinking, or ISO adjustment means navigating menus, the cognitive load of the shoot has exceeded what most people can manage gracefully.
Run through all key controls before every shoot. Shutter speed, aperture, ISO, white balance, live view settings. Know them without looking. Especially: know how to disable the live view brightening that cameras apply in dark environments — it makes the screen look completely different from what you’re actually capturing.
Step 7 — Prepare Post-Production Before the Files Arrive
Decide in advance: how many images are you selecting? What’s the colour direction? If Retouch4me is part of your workflow, have the action set or Arams project configured before the session files arrive. Know whether grain is part of the finish and apply it last — after retouching, not before.
A shoot that ends with a clear pipeline takes a few hours of active work, most of which runs unattended. A shoot with no pipeline takes days.
The Full Checklist
- Concept: one sentence describing what you’re making — settled before booking anyone
- Mood board: built in Milanote with visual references, colour direction, team notes — shared one week before
- Model communication: real conversation (coffee, video call) before the shoot day
- Styling brief: specific pieces with visual references — sent with the mood board
- Location: scouted for light using Sun Surveyor — scheduled around the right conditions
- Camera: all key controls automatic before arrival
- Post-production pipeline: export recipe, retouching approach, and delivery format decided in advance
Words based on a real shoot and workflow from Jakub Kaźmierczyk @jakub.kazmierczyk — commercial photographer and educator based in Wrocław, Poland.
USEFUL LINKS
→ Retouch4me for Beginners — see how to get started
→ Retouch4me Photoshop Panel — free download
→ Arams — free desktop app for batch retouching